I’m working on a new Linux version (Ubuntu 16.04) with some extra’s and this one has full Internet access without reconfiguring your router (NAT).
Beta for Virtual Box is downloadable on:
http://cdn.macip.net/macipgw-beta-3.00.ova
– Virtualisation software, like Virtualbox (https://www.virtualbox.org/)
– The virtual machine with macipgw on it use the download link to the beta above)
– A LocalTalk bridge. Can be hardware or software. For software solution see:
http://68kmla.org/fo…&t=22036#p21405
STABLE VERSION 2.3
Version 2.3 is now the current version of MacIPgw virtual machine. I publish it as VirtualBox Appliance. The file is a Open Virtualization Format Archive
An easy and hassle free way of getting your old Macintosh on the Internet.
Just download the MacIPgw-v2.3.ova file.
( 430MB md5sum: be5bac2a3bdbb6757ed0ebb51238109c )
Or the zip file: macipgw-2.3.ova.zip.
( 424MB md5sum f577be97de521028d660947771a7c8c8 )
and import it in VirtualBox. This is done under File / import Appliance.
Be sure that the network device is on Network Bridge Adapter. Internet Explorer recognizes the file sometimes as a .tar. Be sure to save it as a .ova!
NEW in MacIPgw virtual machine version 2.3
A BIG NEW ONE!!!!…. Netatalk file sharing (2.2.5) added.
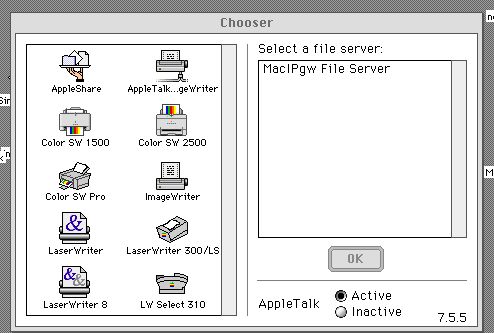
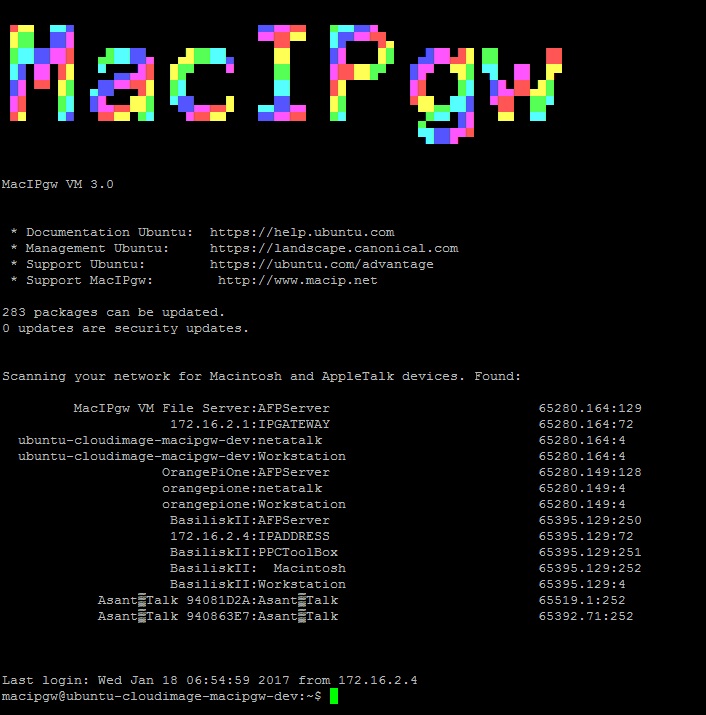
Now out of the box AppleShare file sharing. For old school Mac and new ones. If you open the Chooser you will find the MacIPgw File Server. On this server is a volume called: MacIPgw-DISK.
Login with the macipgw credentials:
username: macipgw
passwd: macipgw
You can upload your stuff here. I also put some old Internet goodies on the disk it for sharing…
User Guest can read this volume.
There is also a volume called Public Folder. This is for guest users. You can up and download here things without login in.
And more………
- For debugging you can see the log at /var/log/afpd.log. This log is whipped every 12 hours so your disks stays clean.
- Even more prevention of logs flooding
- Instructions how to login in boot up messages
- IP address is given in boot up messages for SSH connection or debug.
Improvements from older versions are in place:
Stopping the logfiles and cron from flooding the disk. My uptime is now 16 days and counting….
– A bigger disk, 1 GB in total. So more free disk space. So you can fill your home director with 100MB or more. Also and /extra directory with nearly 200 MB free space
– gw.macip.net and mac.macip.net are now resolved by DNS
– Installed nmap for testing
– Installed aecho for testing
– Installed Bash for more comfortable shell access
– Some more old services are starting up, besides telnetd and ftpd also tftpd, finger, daytime are started. Nice for testing old MacTCP applications. For ftp login with the macipgw account with password macipgw.
– Fixed typo in start up script which gave the impression that there was an 8 to much in macipgw DNS resolver.
– web server on port 80 so you can test a web browser. Point it to http://172.16.2.1 and you will see a page telling you “It works!” Uses tthttpd in /etc/rc.local for startup.
– Lynx web browser. Login with telnet user: lynx and password: lynx and you will get the text only web browser so you can surf the web. No support for https however….
– Elinks web browser. Login with telnet user: elinks and password: elinks and you will get the text only web browser so you can surf the web. And yes… support for https!
– pkg added. Makes it simple to install binary packages to you macipgw virtual machine. Use as root. Look for packages with this command:
#pkg search package_name
or for more information
# pkg search –f package_name
# pkg search apache
Will give you al the possibilities for installing apache variants. Install with
#pkg install package_name
See for more information:
https://wiki.freebsd.org/PkgPrimer
SETUP INSTALL
To set up MACIPGW, follow these steps:
• Download and install VirtualBox. https://www.virtualbox.org/wiki/Downloads
• Download MacIPgw-v2.3.ova virtual machine. (md5sum 43e67ecbc4c09aa1a2cc644403955133 – file size 237 MB)
• Open VirtualBox, and choose “Import Appliance…” from the File menu. Select the file you downloaded (MacIPgw-v2.3.ova).
• Click Import.
• When it’s done importing, click MacipGW v2.3, then click Settings, then click Network.
• Ensure that “Attached To:” is set to “…Bridged Adapter”.
• Click OK.
• Start him up! Select MacipGW v2.3 and click on green arrow…Start.
DOWNLOAD:
http://cdn.macip.net/MacIPgw-v2.3.ova
Old, smaller version
Version 2.0 is a smaller download. You get less, but you get basic functionality.
Just download the MacIPgw-v2.0.ova file ( 237MB) and import it in VirtualBox. This is done under File / import Appliance.
Be sure that the network device is on Network Bridge Adapter. Internet Explorer recongnizes the file sometimes as a .tar. Be sure to save it as a .ova!
In version 2.0:
– macipgw up and running. This is what you basicly need.
– sshd started at boot. You can login with ssh
– ftpd started at boot. You can login with ftp
– telnetd started at boot. You can login with telnet
– DNS started at boot. Full working name server. You can point your Macintosh to 172.16.2.1 as DNS server.
– Host name resolution. You can point to gw.macip.net and it is resolved as 172.16.2.1 and you can point to mac.macip.net as your Macintosh with IP address 172.16.2.2
– motd updated. You now see information about IP configuration if booted.
Issues:
– named start at boot is strange. Had to make a small hack in cron to get it working. Will reload its configuration every minute.
– Security. No firewall in place. Please use on secure private LAN.
– No support for file sharing. FTP only.
2.1 version is also still available. Also small.
Download at:
http://www.macip.net/wp-content/uploads/MacIPgw-v2.1.ova ( 391 MB)
Fast miror:
http://cdn.macip.net/MacIPgw-v2.1.ova
For installing look at 2.3 version.
If you want to see your Mac from your other internal computers and connect directly to the internet you should not forget to configure your router to do so. This is because the MacIPgw and your old Mac are both on the 172.16.2.x network. Probably your other network and computers are in a 192.168.x.x network. So you should tell your router where to find the 172.16.2.x network.
How to do this f.i on a Mac OS X server is written on the 68kla.org forum by user 6502:
First of all I want to thank you very much for this work. I am a new member and very happy to be part of this.
I have this VM Appliance running in VirtualBox on Mac OS X Server 10.6.8.
It works very well.
I had to add the static route in the Mac OS X server Terminal as sudo. The commands are slightly different than on a PC in the prompt.
The “add” is lowercase “add” and you use “netmask” instead of “MASK” all without quotes, of course.
‘sudo route add 172.16.2.0 netmask 255.255.255.0 192.168.x.x’
As you can see I left his enthusiastic comment in place. You can imagine that I’m happy with this. He is probably the only other user in the world…… But there is still hope. Who doesn’t want to connect his Plus to the Net!!!
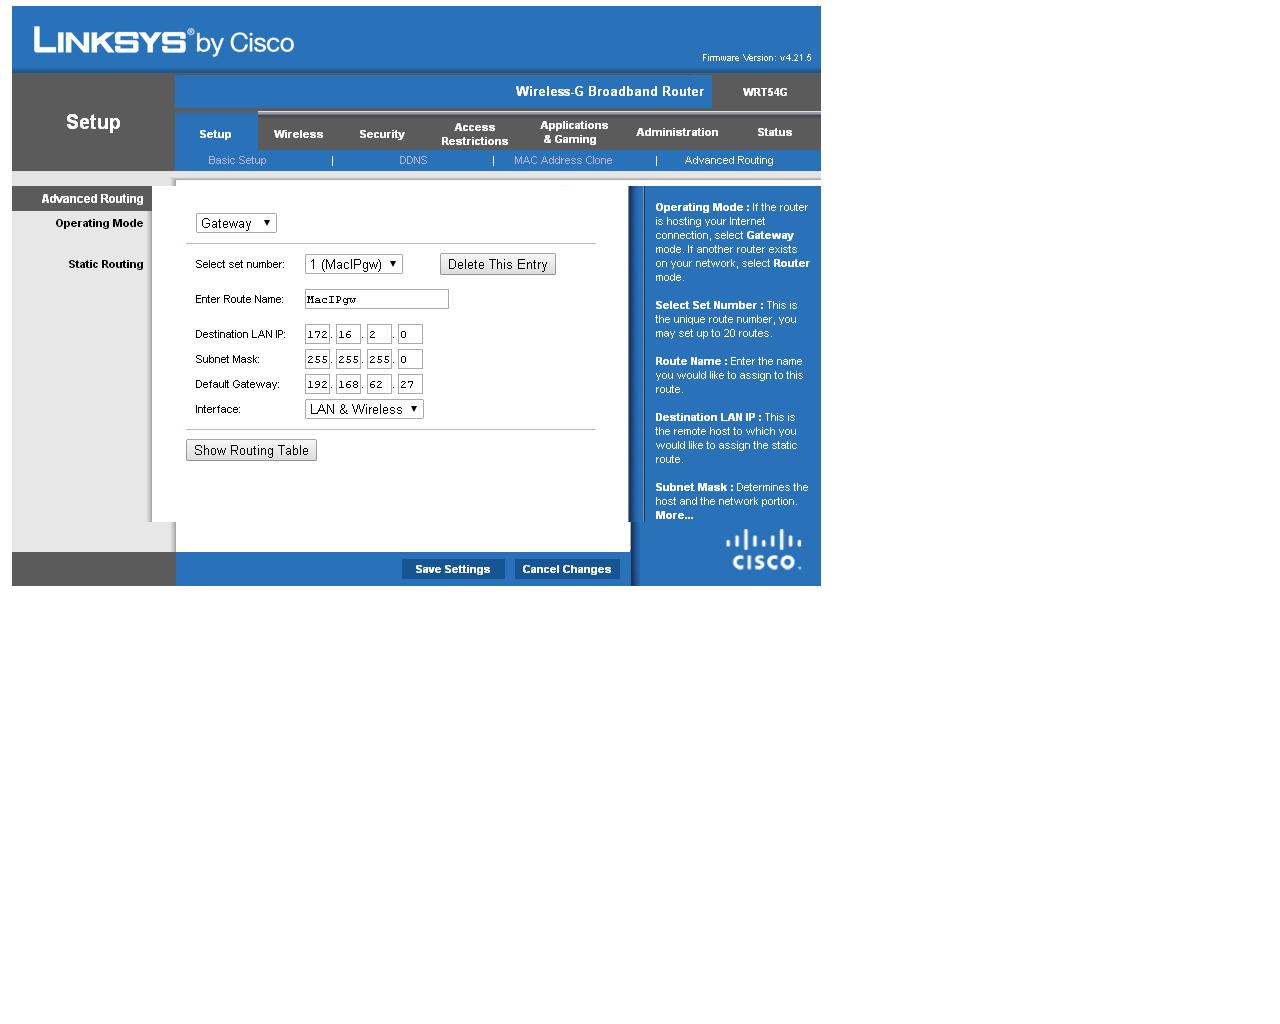
On my router I tell it that the IP address of my MacIPgw is 192.168.62.27. I looked that up with the command ifconfig on the virtual machine. You should do it on your own instance of the virtual machine too, because all networks have other IP addresses!
If you don’t success…don’t worrie. I can help. Give me an email at help (at) macip.net.
There are also a lot of tools on MacIPgw itself. So start to telnet to the virtual machine (172.16.2.1). You can use Lynx or Elinks to surf the Internet. Or use ssh to connect to other Linux/unix computers.
This is how it looks on my router:
Thanks for all your hard work on getting this set up. Something to note, Appletalk will almost certainly not work over Wi-Fi, you’ll need hardwired ethernet between you and the Mac/Localtalk Gateway.
You Rock!!!